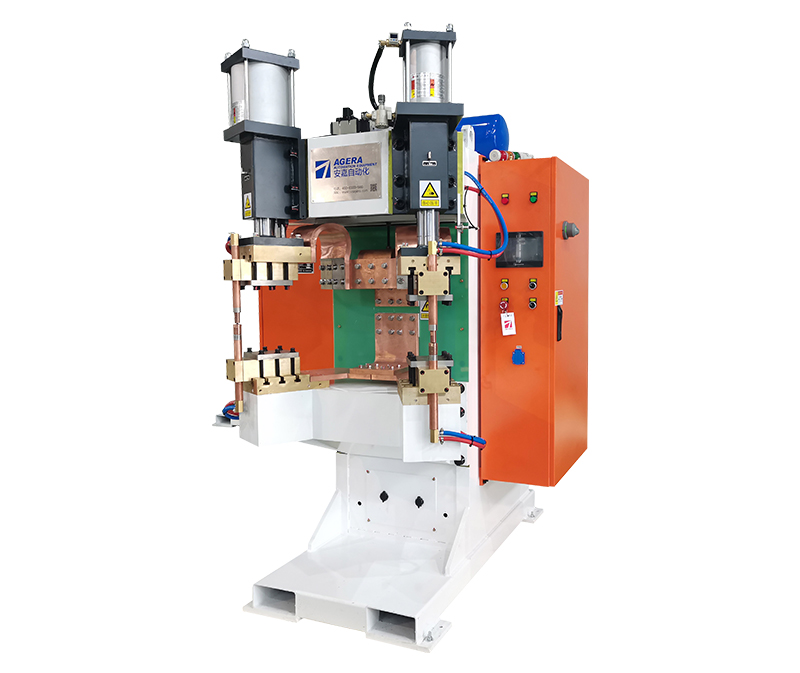
The adjustment process for nut spot welding machines is essential to ensure optimal welding performance and consistent weld quality. This article provides an overview of the step-by-step process involved in adjusting a nut spot welding machine for efficient and reliable welds. By following the prescribed adjustment procedure, users can maximize the effectiveness of their nut spot welding operations.
- Machine Preparation: Before starting the adjustment process, it is crucial to ensure that the nut spot welding machine is properly prepared. This involves checking the machine’s power supply, connecting the welding cables securely, and verifying the availability of suitable electrodes and nuts for the specific application.
- Electrode Selection and Alignment: Selecting the appropriate electrodes is critical for achieving reliable and consistent welds. The electrodes should be compatible with the materials being welded and properly sized for the nut and workpiece. Align the electrodes to ensure they are parallel and perpendicular to the workpiece surface, optimizing the contact area for efficient heat transfer during the welding process.
- Current Setting: Adjusting the welding current is a crucial step in achieving optimal weld quality. Consult the welding specifications or guidelines provided by the equipment manufacturer to determine the recommended current range for the specific nut and workpiece materials. Use the machine’s control interface to set the desired current level, ensuring it falls within the recommended range.
- Time Setting: The welding time determines the duration of current flow and is essential for achieving the desired weld penetration and nugget formation. Refer to the welding specifications or guidelines to determine the recommended welding time. Adjust the machine’s control interface to set the appropriate welding time.
- Pressure Adjustment: Applying the right amount of pressure during welding is crucial for achieving strong and reliable welds. The pressure should be sufficient to ensure proper electrode-to-workpiece contact without causing excessive deformation. Consult the welding specifications or guidelines to determine the recommended pressure range and adjust the machine’s pressure settings accordingly.
- Test Welding and Evaluation: After completing the adjustments, perform test welds on sample workpieces to evaluate the quality of the welds produced. Inspect the welds for adequate penetration, nugget size, and overall appearance. If necessary, make further adjustments to the current, time, or pressure settings to optimize the weld quality.
- Documentation and Record Keeping: Maintain proper documentation of the adjustment process, including the selected parameters and any modifications made. This documentation serves as a reference for future welding operations and allows for traceability and quality control.
The adjustment process for nut spot welding machines plays a crucial role in achieving optimal weld quality and performance. By following the prescribed steps, users can ensure proper electrode alignment, set the appropriate welding current and time, adjust the pressure, and evaluate the weld quality through test welding. Consistent adherence to the adjustment process, along with proper documentation, enables users to achieve reliable and efficient welds in nut spot welding applications.
Post time: Jun-14-2023


