

The installation process of butt welding machines is a crucial and systematic procedure that ensures the proper setup and functionality of the equipment. Understanding the installation process is essential for welders and professionals to ensure safety, efficiency, and optimal performance during welding operations. This article explores the step-by-step installation process of butt welding machines, highlighting its significance in achieving successful welding outcomes.
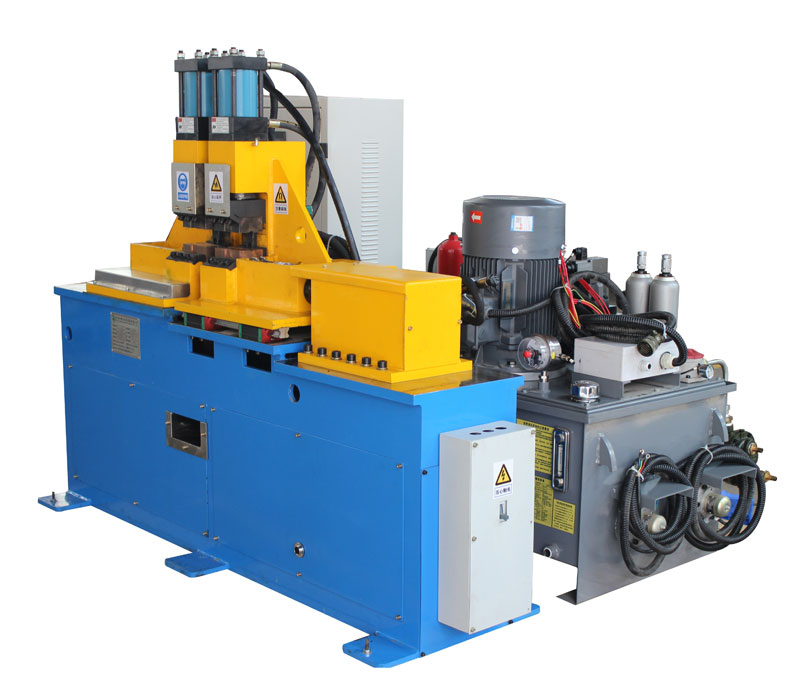
The Installation Process of Butt Welding Machines:
Step 1: Site Assessment and Preparation The installation process begins with a comprehensive site assessment. This involves evaluating the workspace to ensure it meets the necessary requirements, such as adequate space, ventilation, and proper electrical supply. The area is prepared, ensuring a clean and organized work environment.
Step 2: Unpacking and Inspection After the welding machine is delivered, it is carefully unpacked, and all components are inspected for any damage or missing parts. This step is crucial to identify any issues that may affect the machine’s performance or safety.
Step 3: Positioning and Leveling The welding machine is then positioned in the designated area, taking into consideration factors such as accessibility, safety clearance, and proximity to other equipment. The machine is leveled to ensure stability and precise alignment during welding operations.
Step 4: Electrical Connection Next, the electrical connection is established according to the manufacturer’s specifications. Wiring is carefully routed to avoid any potential hazards and to ensure a reliable power supply to the welding machine.
Step 5: Cooling System Setup If the butt welding machine is equipped with a chiller unit, the cooling system is set up and connected to the machine. Proper cooling is crucial for managing heat dissipation during welding and maintaining optimal operating temperatures.
Step 6: Fixture and Clamping Installation Fixtures and clamps are installed on the welding machine, depending on the specific joint configurations and workpiece sizes. Proper fixture installation ensures accurate fit-up and stable clamping during welding operations.
Step 7: Calibration and Testing Before commencing any welding operations, the welding machine is calibrated and tested. This involves checking and adjusting various parameters, such as welding voltage, current, and welding speed, to ensure they align with the welding requirements.
Step 8: Safety Checks and Training A thorough safety check is conducted to verify that all safety features are functional, including emergency stop buttons and safety guards. Additionally, operators and welders undergo training to familiarize themselves with the machine’s operation and safety protocols.
In conclusion, the installation process of butt welding machines involves site assessment and preparation, unpacking and inspection, positioning and leveling, electrical connection, cooling system setup, fixture and clamping installation, calibration and testing, and safety checks and training. Each step is essential to ensure the proper setup, functionality, and safety of the welding machine. Understanding the significance of the installation process empowers welders and professionals to optimize welding processes and meet industry standards. Emphasizing the importance of proper installation supports advancements in welding technology, promoting excellence in metal joining across diverse industrial applications.
Post time: Aug-02-2023


