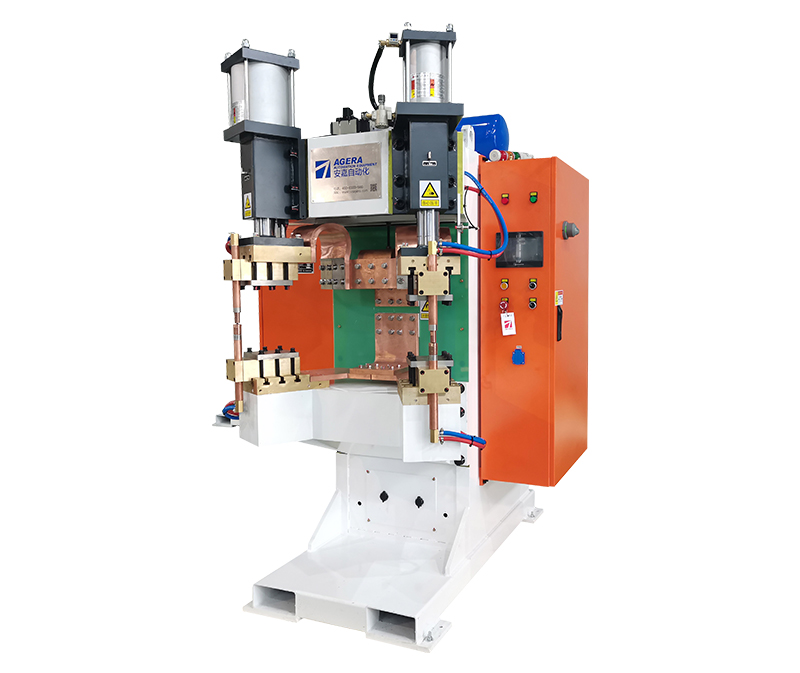
Ensuring the quality of nut welds is crucial for achieving reliable and structurally sound joints in nut welding machines. This article presents various inspection methods that can be employed to assess the quality of nut welds. By utilizing these techniques, manufacturers can identify any potential defects or imperfections in the welds and take appropriate measures to maintain high welding standards.
- Visual Inspection: Visual inspection is a fundamental method for assessing the overall appearance and surface condition of nut welds. Inspectors examine the weld area for indications of cracks, porosity, incomplete fusion, or any other visible defects. This method requires skilled personnel who are trained to recognize welding imperfections and deviations from the desired weld profile.
- Dye Penetrant Testing: Dye penetrant testing is a non-destructive examination method used to detect surface-breaking defects in nut welds. A penetrant solution is applied to the weld surface, and after a specific dwell time, excess penetrant is removed. A developer is then applied, which draws out any penetrant trapped in defects, making them visible. This method can identify cracks, porosity, and other surface defects that may compromise the weld’s integrity.
- Radiographic Testing: Radiographic testing, commonly known as X-ray or radiographic inspection, is a widely used method for evaluating the internal integrity of nut welds. X-ray or gamma-ray radiation is passed through the weld, and the resulting image reveals internal discontinuities such as voids, inclusions, or lack of fusion. This method provides a comprehensive assessment of the weld’s internal structure and is particularly effective for detecting hidden defects.
- Ultrasonic Testing: Ultrasonic testing utilizes high-frequency sound waves to inspect nut welds for internal defects. A transducer is placed on the weld surface, which emits ultrasonic waves that propagate through the weld. Any anomalies, such as voids, cracks, or lack of fusion, will cause reflections or changes in the ultrasonic waves, which can be detected and analyzed. Ultrasonic testing provides valuable information about the weld’s internal structure and can detect defects that may not be visible to the naked eye.
- Tensile and Bend Testing: Tensile and bend testing involve subjecting test specimens extracted from nut welds to mechanical forces. Tensile testing measures the weld’s strength by applying a pulling force until the weld joint breaks, while bend testing assesses the weld’s ductility by bending the specimen to evaluate its resistance to cracking or deformation. These tests provide quantitative data on the weld’s mechanical properties, such as tensile strength, elongation, and impact resistance.
The quality of nut welds in nut welding machines can be effectively evaluated using various inspection methods. Visual inspection, dye penetrant testing, radiographic testing, ultrasonic testing, and mechanical testing techniques provide valuable information about the weld’s surface condition, internal integrity, and mechanical properties. By implementing these inspection methods, manufacturers can ensure that nut welds meet specified quality standards and contribute to the production of robust and reliable assemblies.
Post time: Jul-17-2023


