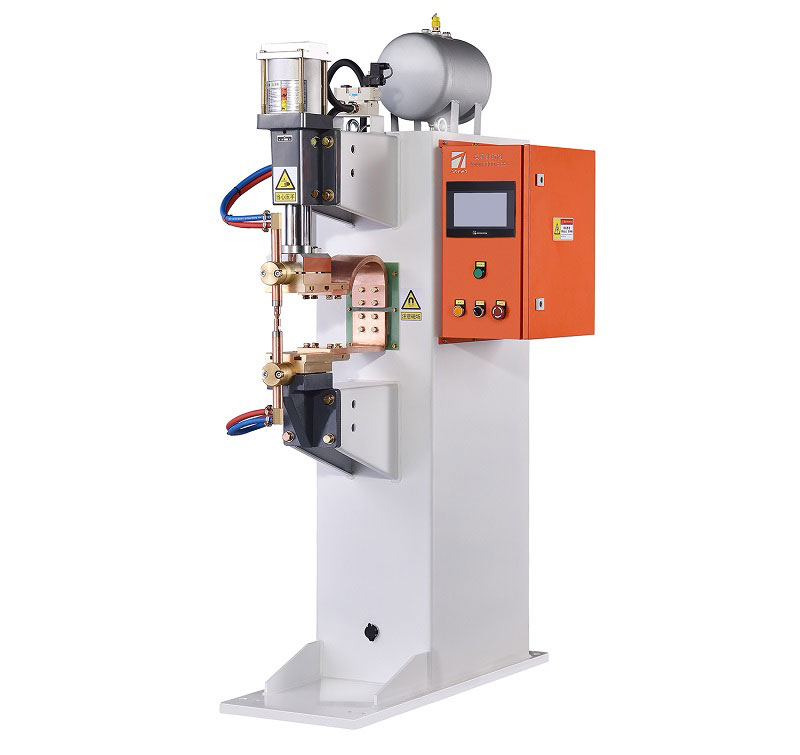
Resistance spot welding is a widely used technique in the manufacturing industry for joining metal components together. To ensure safe and effective operation of a resistance spot welding machine, it’s essential to follow specific steps. In this article, we will outline the key operating steps for a resistance spot welding machine.
- Safety Precautions: Before starting any welding operation, it is crucial to prioritize safety. Ensure you are wearing appropriate personal protective equipment (PPE), such as a welding helmet, gloves, and safety glasses. Also, make sure the work area is well-ventilated and free from flammable materials.
- Machine Inspection: Before using the welding machine, inspect it for any signs of damage or wear. Check the cables, electrodes, and clamps for any defects. Ensure that all connections are secure.
- Material Preparation: Prepare the materials you intend to weld. Ensure they are clean and free from rust, paint, or other contaminants that could affect the welding quality. Proper material preparation is essential for a strong weld.
- Machine Setup: Set up the welding machine according to the specifications of the materials you are working with. This includes adjusting the welding current, time, and pressure settings. Refer to the machine’s manual for guidance.
- Electrode Placement: Position the electrodes on the materials to be welded. The electrodes should make firm contact with the material surfaces. Proper electrode placement is critical for a successful weld.
- Welding Process: Start the welding process by activating the machine. The machine will apply pressure and electrical current to the electrodes, causing them to heat up and melt the material at the welding point. The duration of the welding process depends on the machine settings and the material being welded.
- Monitoring: While the machine is operating, closely monitor the welding process. Ensure that the electrodes maintain proper contact with the materials. If you notice any issues, such as sparking or uneven melting, stop the process immediately.
- Cooling: After completing the welding process, allow the welded area to cool down naturally. Avoid quenching or cooling it rapidly, as this can affect the quality of the weld.
- Inspect the Weld: Once the weld has cooled, inspect it for quality. Look for any signs of defects, such as cracks or incomplete fusion. A properly executed weld should be strong and uniform.
- Cleanup: After finishing the welding job, clean the electrodes and the work area. Remove any slag or debris that may have accumulated during the process.
- Maintenance: Regularly maintain and clean your welding machine to ensure it operates efficiently. This includes checking and replacing worn-out parts as needed.
- Safety Shutdown: Finally, turn off the welding machine, disconnect it from the power source, and store it in a safe and secure location.
By following these operating steps, you can effectively and safely use a resistance spot welding machine to create strong and reliable welds in various metal materials. Always remember that safety should be your top priority when working with welding equipment.
Post time: Sep-26-2023


