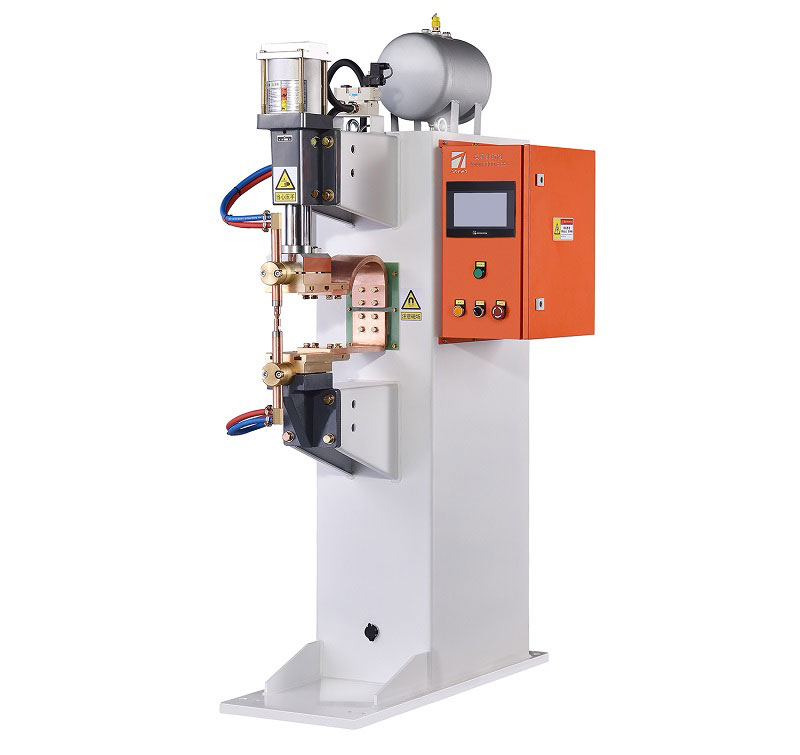
Resistance spot welding is a crucial process in various industries, ensuring strong and reliable connections in metal fabrication. To achieve optimal results and maintain the integrity of your welds, it’s essential to follow a precise set of steps when adjusting a resistance spot welding machine. In this article, we will outline these steps to help you achieve consistent and high-quality welds.
Step 1: Safety Precautions
Before you begin any adjustments, ensure that you are wearing the necessary safety gear, such as welding gloves, a welding helmet, and a flame-resistant apron. Safety should always be your top priority when working with welding equipment.
Step 2: Machine Inspection
Thoroughly inspect the welding machine for any visible damage, loose parts, or signs of wear and tear. Make sure all connections are secure and that there are no exposed wires. If you discover any issues, address them promptly to avoid accidents.
Step 3: Power Supply Check
Ensure that the welding machine is properly connected to a stable power source. Check the voltage and current settings to match the material and thickness you plan to weld. Incorrect power settings can result in weak welds or damage to the materials.
Step 4: Electrode Adjustment
Examine the condition of the electrodes. They should be clean and in good shape. Adjust the electrode pressure according to the manufacturer’s recommendations and the material you are working with. Proper electrode alignment and pressure are critical for achieving strong welds.
Step 5: Material Preparation
Prepare the materials to be welded by cleaning them thoroughly. Remove any dirt, rust, or contaminants from the surfaces to ensure a clean weld. Proper preparation is essential for achieving a strong bond.
Step 6: Welding Time and Current
Set the welding time and current according to the welding schedule provided by the material manufacturer or your company’s welding standards. These settings may vary depending on the material type and thickness.
Step 7: Test Welds
Before proceeding with your main welding task, perform a series of test welds on scrap material. This allows you to fine-tune the machine settings and confirm that the weld quality meets your requirements.
Step 8: Welding Process
Once you are satisfied with the test welds, proceed with your actual welding task. Ensure that the materials are correctly positioned, and the electrodes make firm contact with the workpieces. Trigger the welding process according to the machine’s operating instructions.
Step 9: Post-Weld Inspection
After completing the welds, inspect the results for quality. Check for any defects, such as cracks or incomplete fusion. If necessary, make adjustments to the machine settings and repeat the welding process.
Step 10: Maintenance
Regularly maintain your resistance spot welding machine by cleaning, lubricating, and inspecting it for wear and tear. Proper maintenance ensures the longevity and reliability of the equipment.
By following these ten essential steps, you can adjust your resistance spot welding machine with confidence, resulting in consistent and high-quality welds. Remember that practice and experience play a significant role in mastering the art of resistance spot welding, so continue to refine your skills over time.
Post time: Sep-26-2023


