

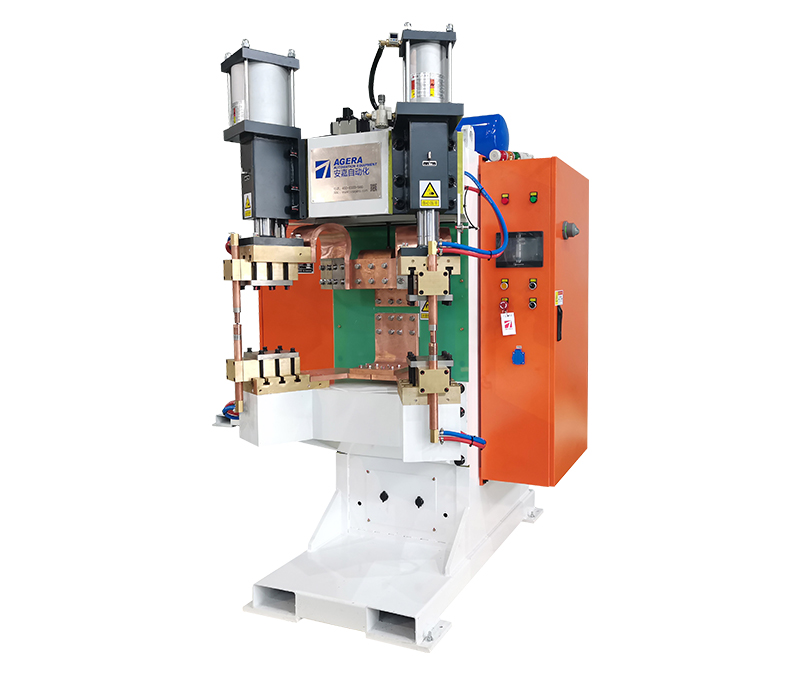
In modern manufacturing, the use of nut spot welding machines has become increasingly common due to their efficiency and reliability in joining nuts to various materials. This article will provide an overview of the various stages involved in the welding process of a nut spot welding machine.
1. Preparation and Setup: Before commencing the welding process, it’s essential to prepare and set up the nut spot welding machine. This includes selecting the appropriate nut size, ensuring the machine’s electrodes are in good condition, and configuring the machine settings, such as current and welding time, according to the material being used.
2. Material Alignment: The first step in the welding process is to align the nut with the target location on the workpiece. Proper alignment ensures the nut is securely positioned and ready for welding.
3. Electrode Contact: Once the material is aligned, the electrodes of the nut spot welding machine come into contact with the nut and the workpiece. This contact initiates the flow of electric current required for welding.
4. Welding Process: During the welding process, a high current is passed through the nut and the workpiece. This current generates intense heat at the point of contact, causing the nut to melt and fuse with the material. The welding time is crucial, as it determines the quality of the weld. After welding, the electrodes retract, leaving a firmly attached nut.
5. Cooling and Solidification: Immediately after the welding is complete, the welded joint begins to cool and solidify. Some nut spot welding machines have built-in cooling systems to expedite this phase, ensuring a faster production cycle.
6. Quality Inspection: Quality control is a vital part of the process. Welded joints should be inspected for defects, such as inadequate fusion, improper nut alignment, or material damage. Any subpar welds must be addressed promptly to maintain the integrity of the final product.
7. Post-Weld Cleaning: In some cases, it may be necessary to clean the welded area to remove any debris, slag, or excess material. This step ensures that the nut and workpiece are securely joined without interference.
8. Final Product Testing: Before the assembled product is sent for further processing or use, it is crucial to conduct final product testing. This may involve torque tests to ensure the nut is firmly attached, as well as visual inspections to confirm the overall quality of the weld.
In conclusion, the welding process of a nut spot welding machine involves several critical stages, from preparation and setup to final product testing. By following these steps diligently, manufacturers can produce high-quality, reliable products that meet the demands of various industries. Nut spot welding machines have revolutionized the way nuts are joined to materials, offering a cost-effective and efficient solution for numerous applications.
Post time: Oct-19-2023


